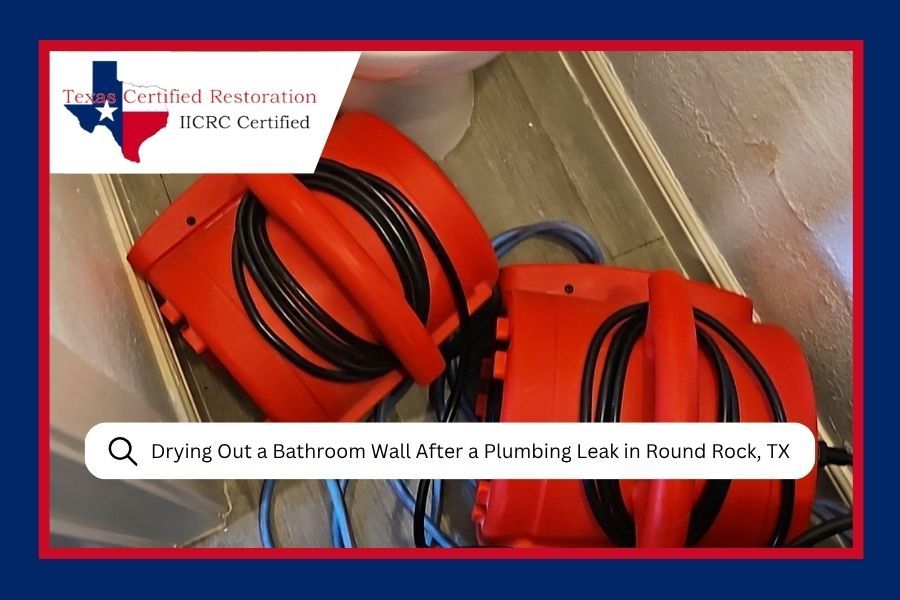
Drying Out a Bathroom Wall After a Plumbing Leak in Round Rock, TX
Updated on: November 17, 2026
Author: Tracy King
A hidden plumbing leak beside a toilet quietly soaked the drywall, insulation, and baseboards in this Round Rock half bath. Our team at Texas Certified Restoration tracked down the moisture, opened the wall, and dried everything out with our water damage restoration services. Here's how the job went, start to finish.
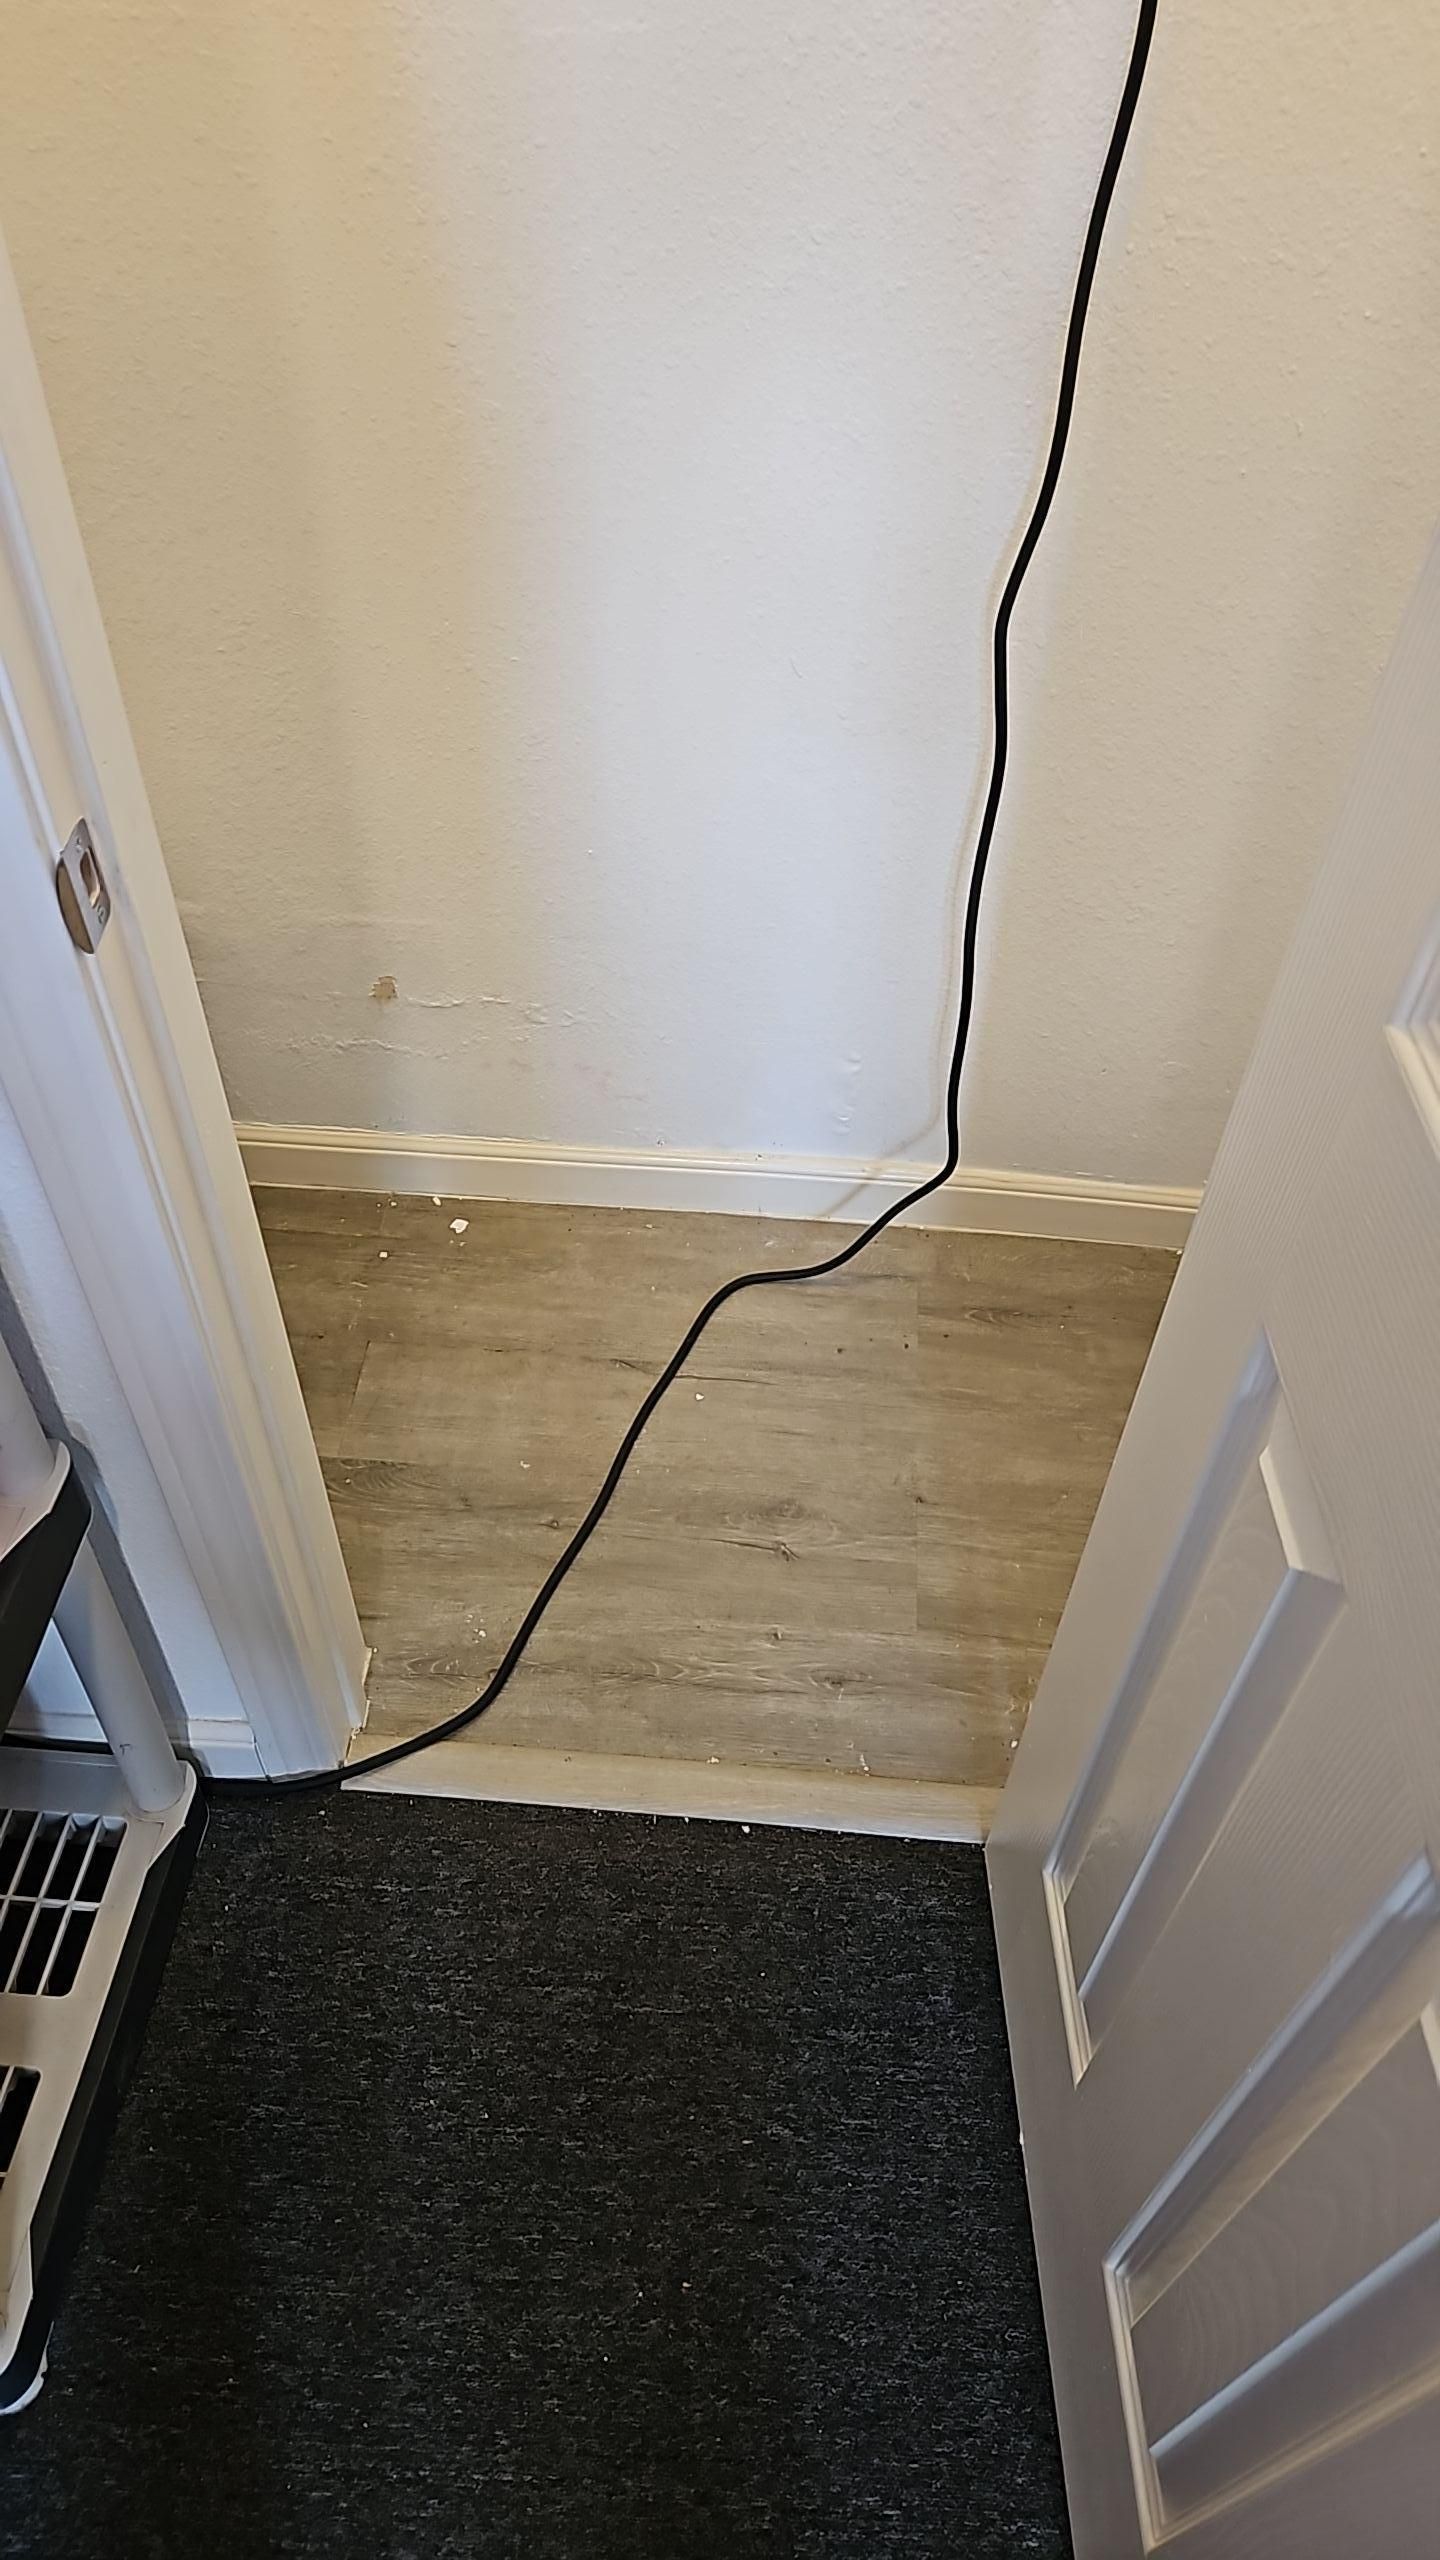
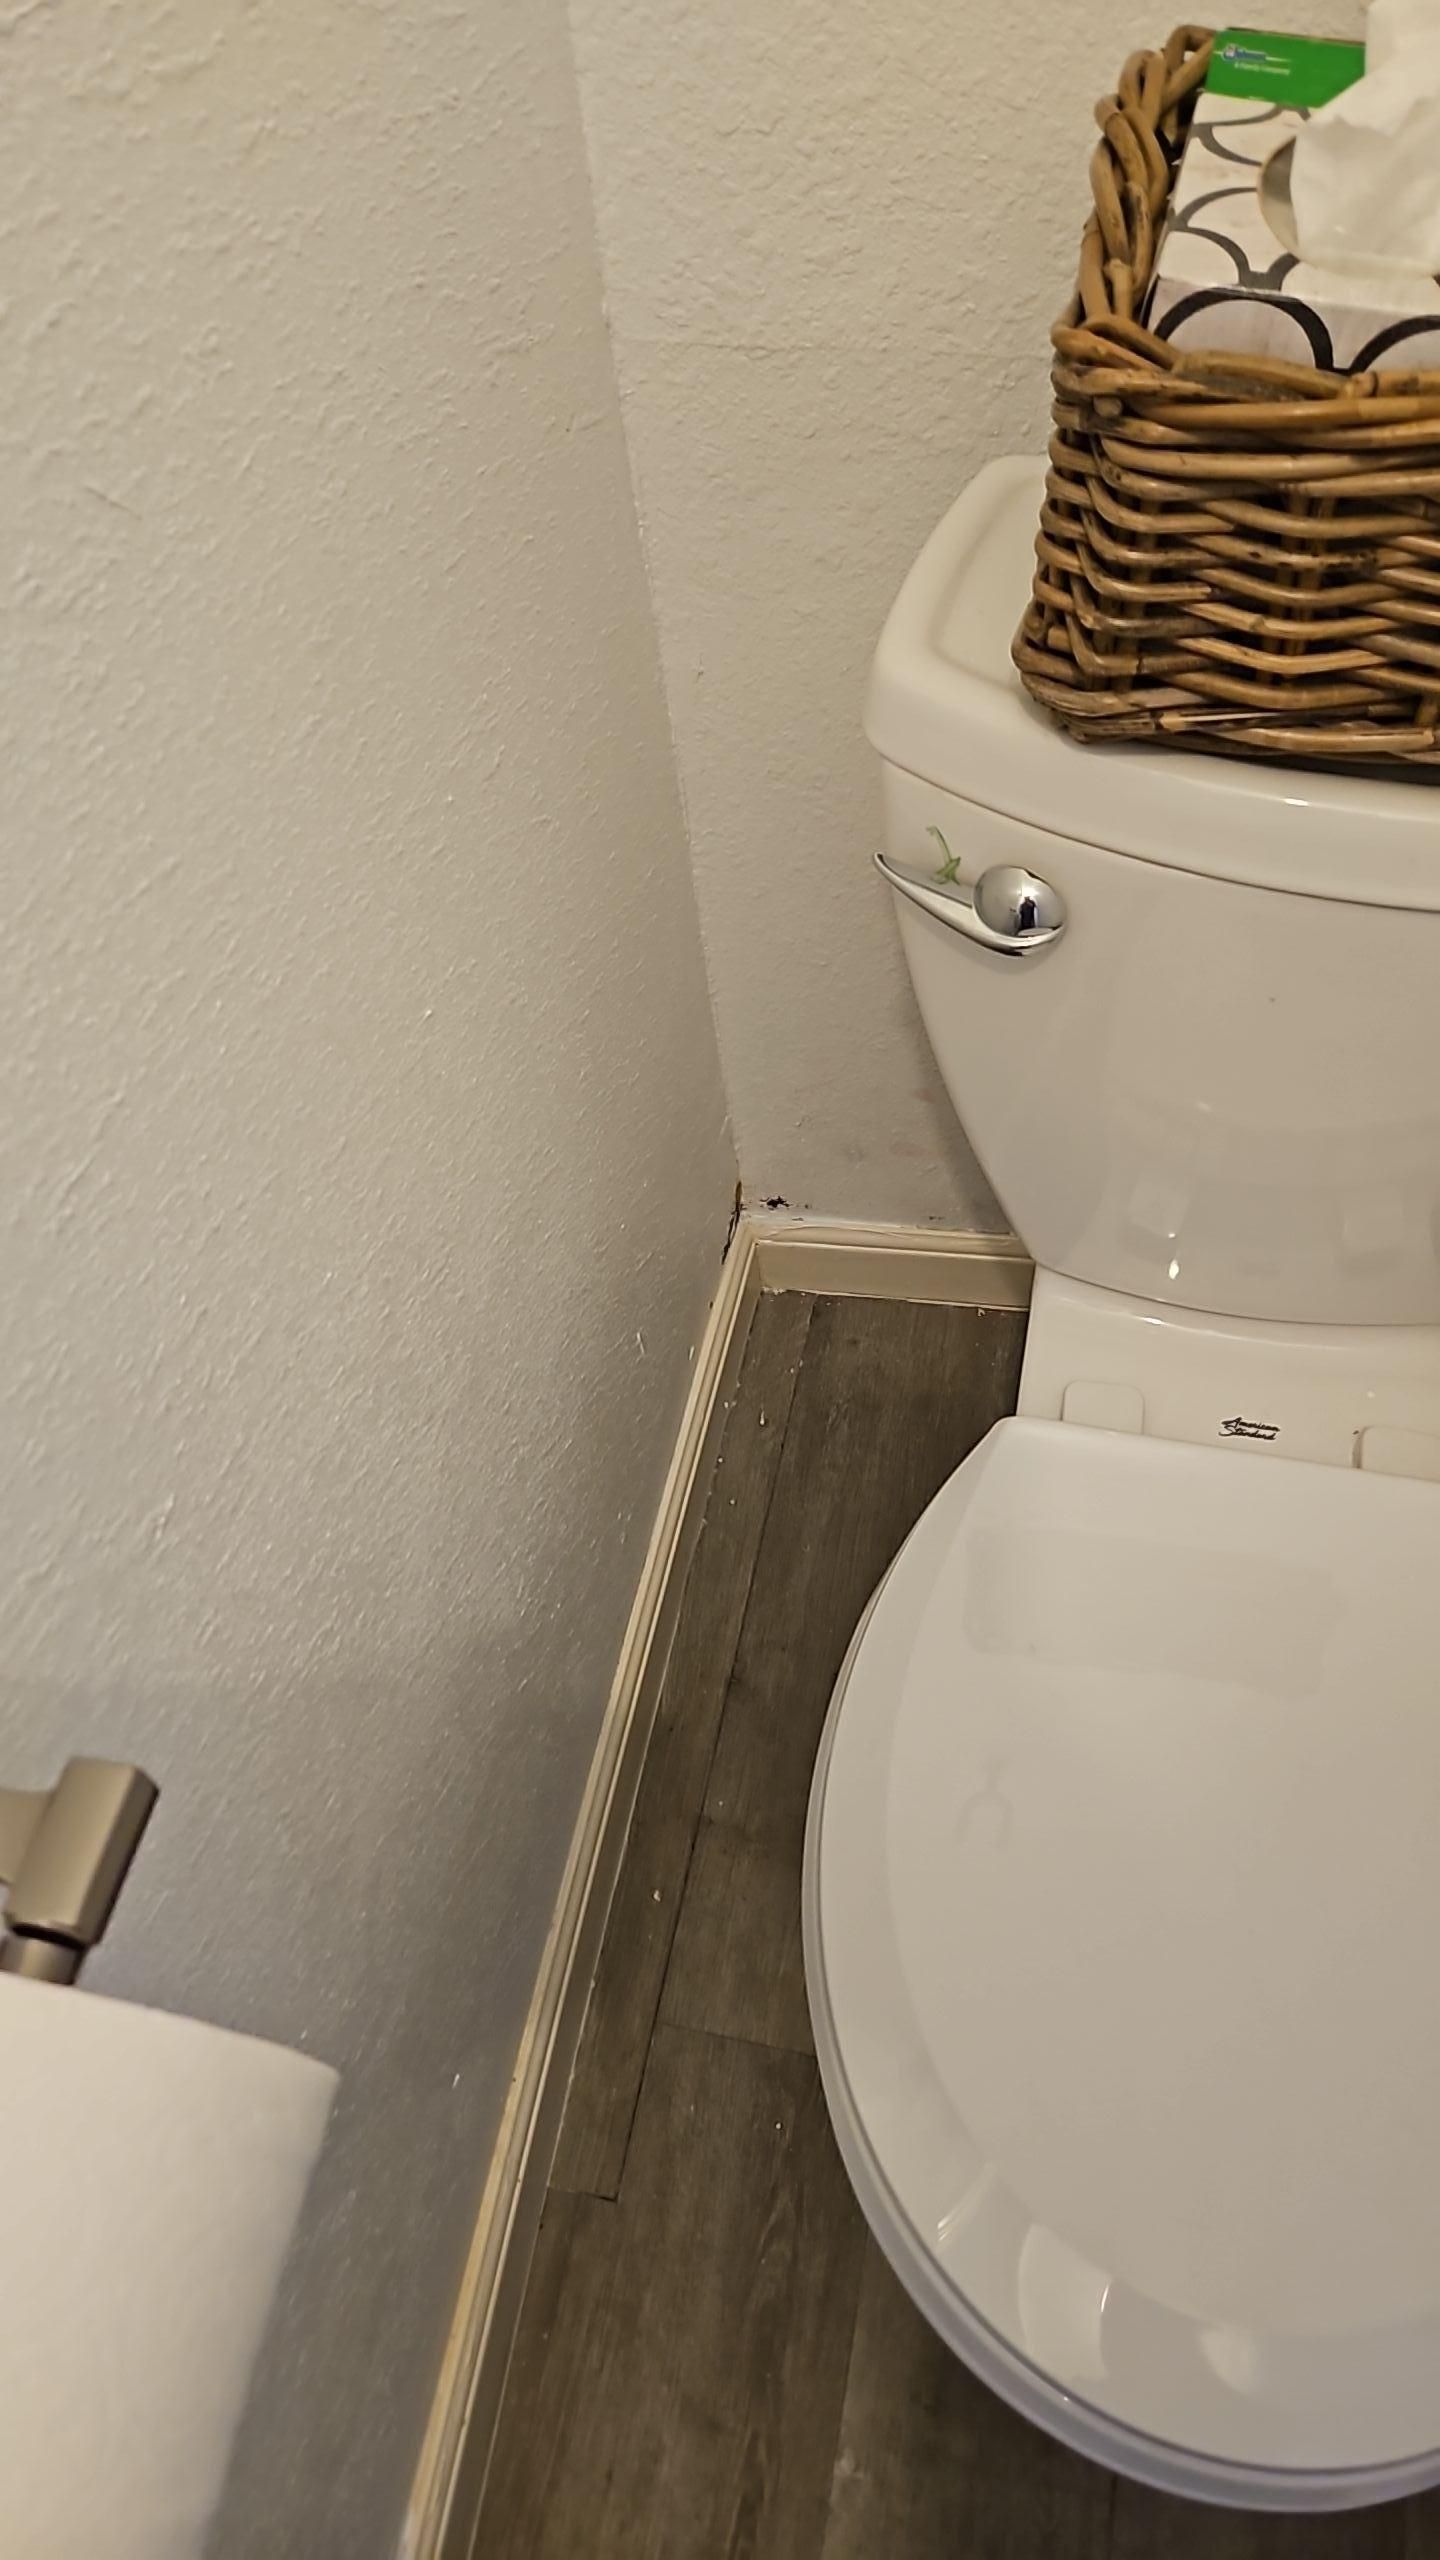
Leaks like this one are sneaky, because nobody ever sees water gushing out anywhere. The homeowner just noticed the paint near the floor looked a little puffy, and the baseboard in the closet next door didn't look quite right either. And of course it happened in the one bathroom every guest uses.
What Caused the Bathroom Water Damage in This Round Rock Home?
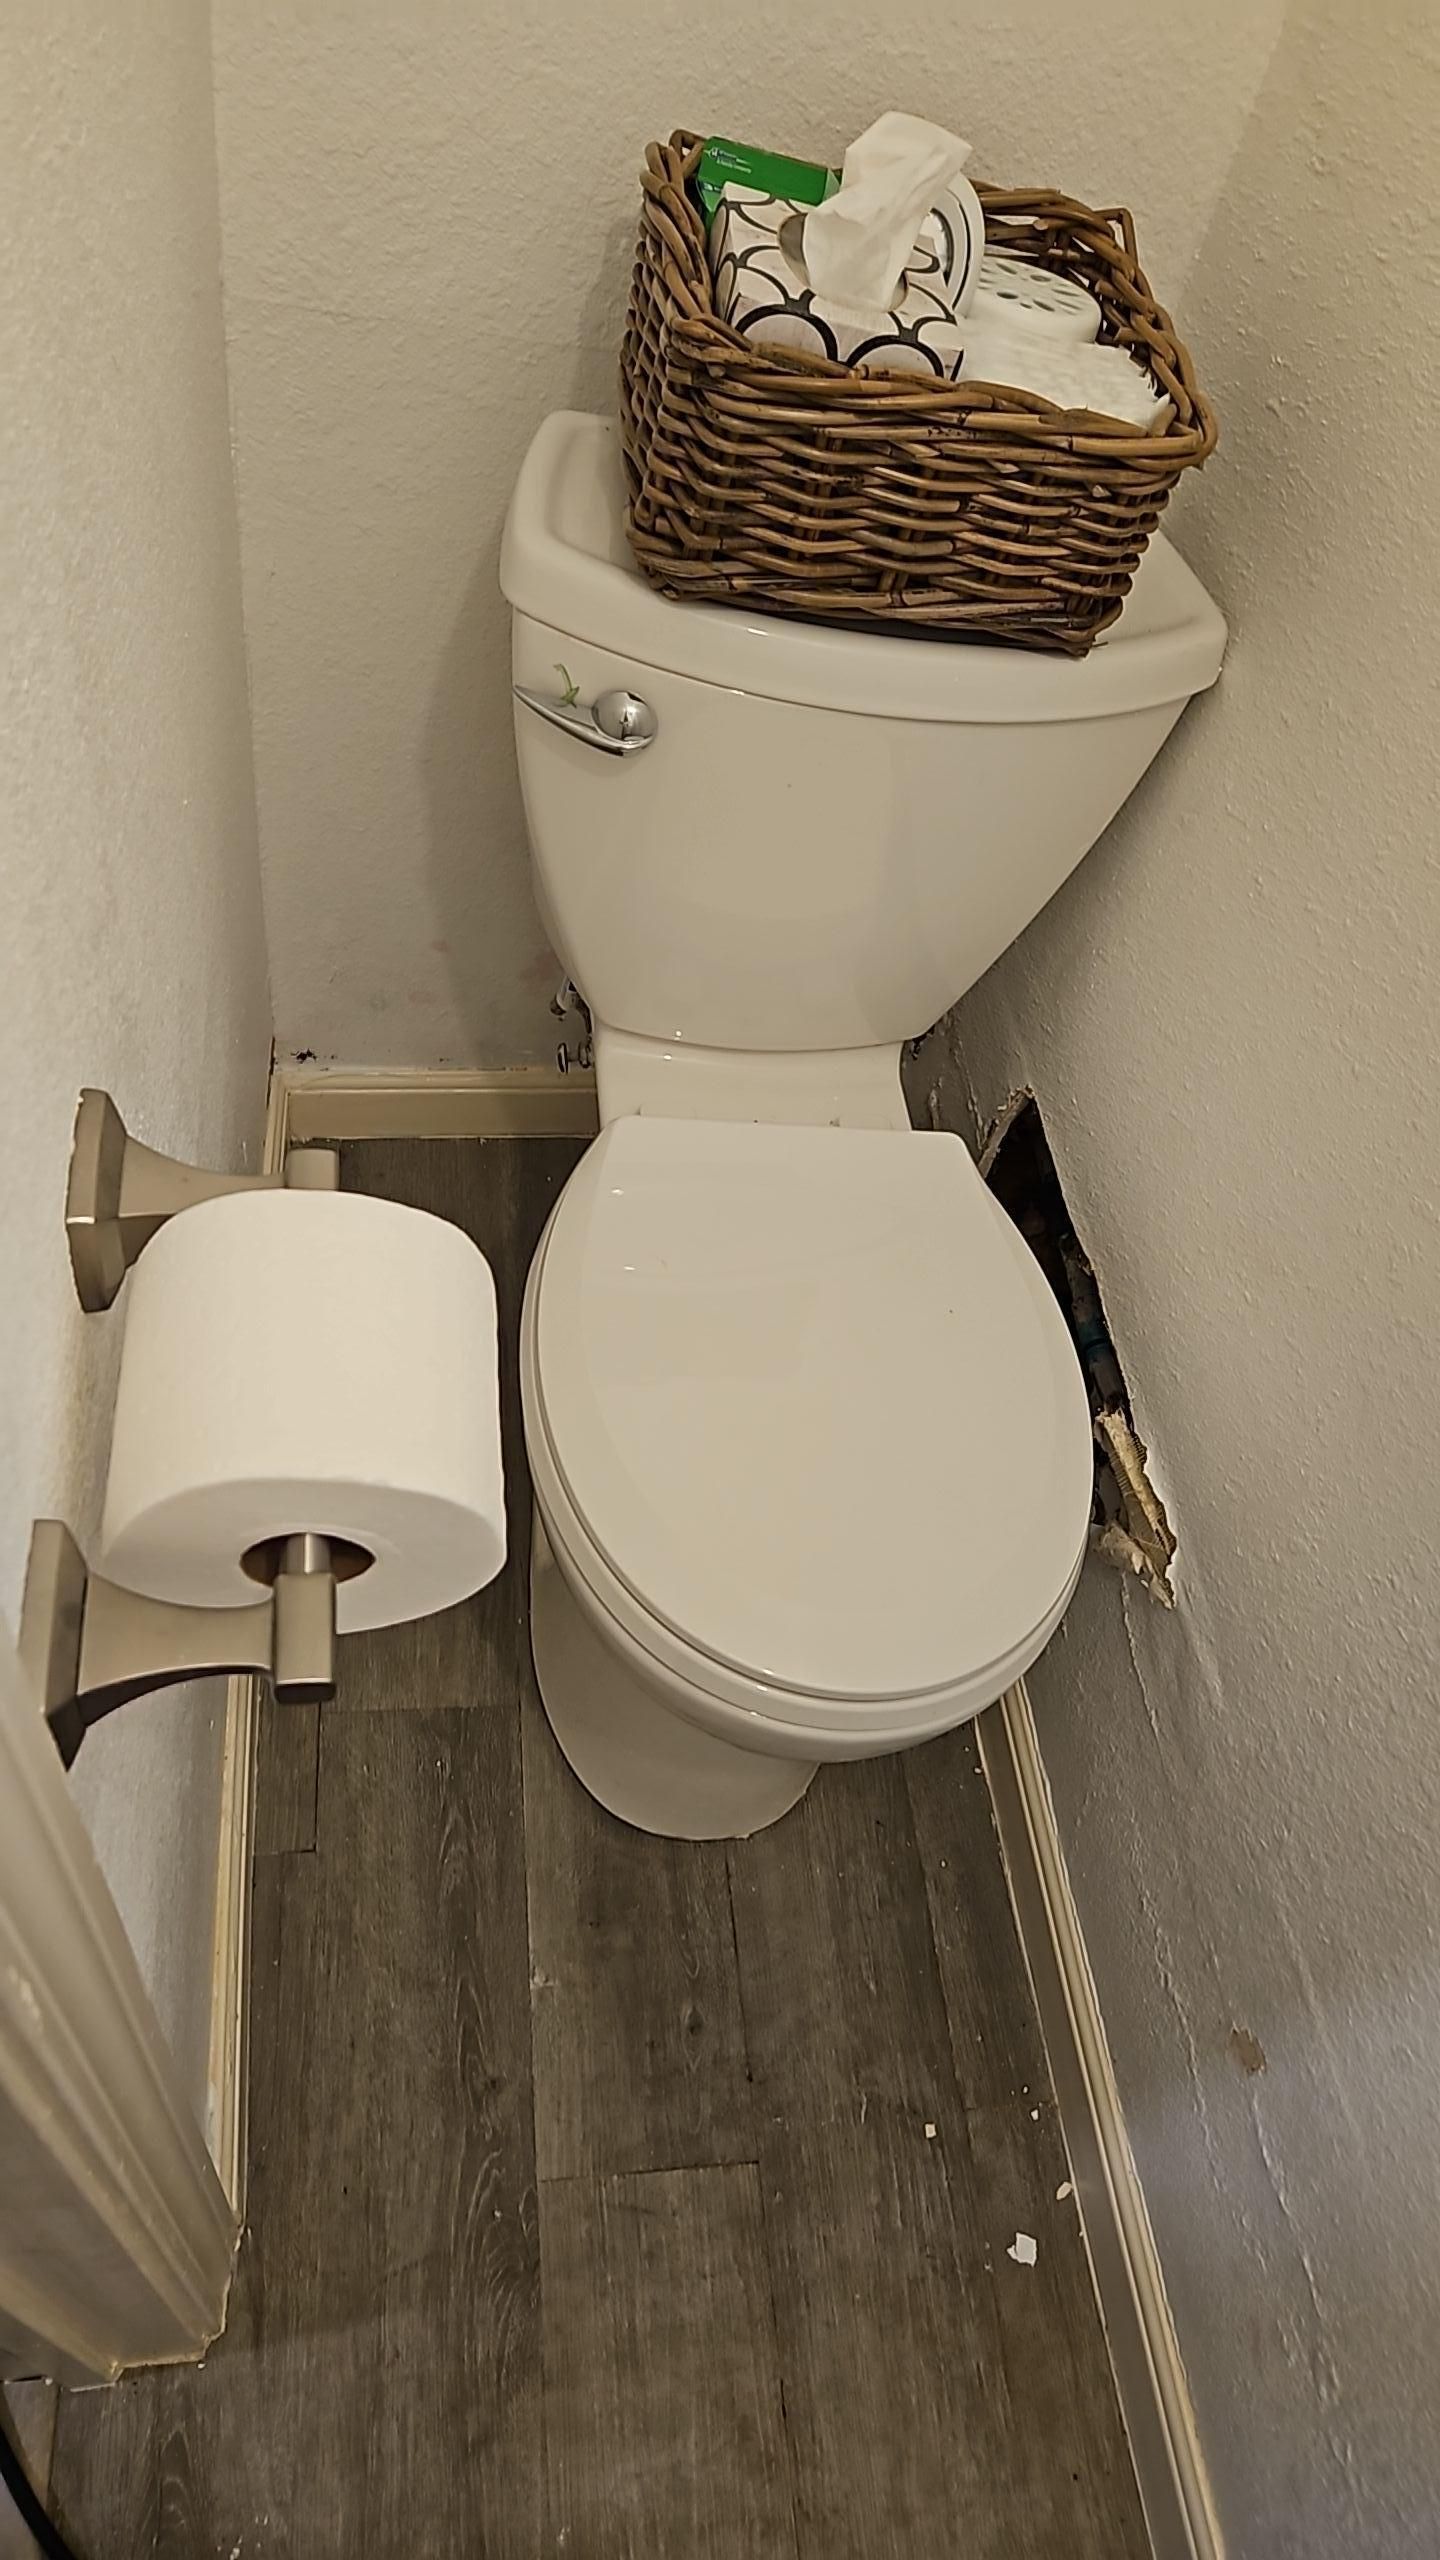
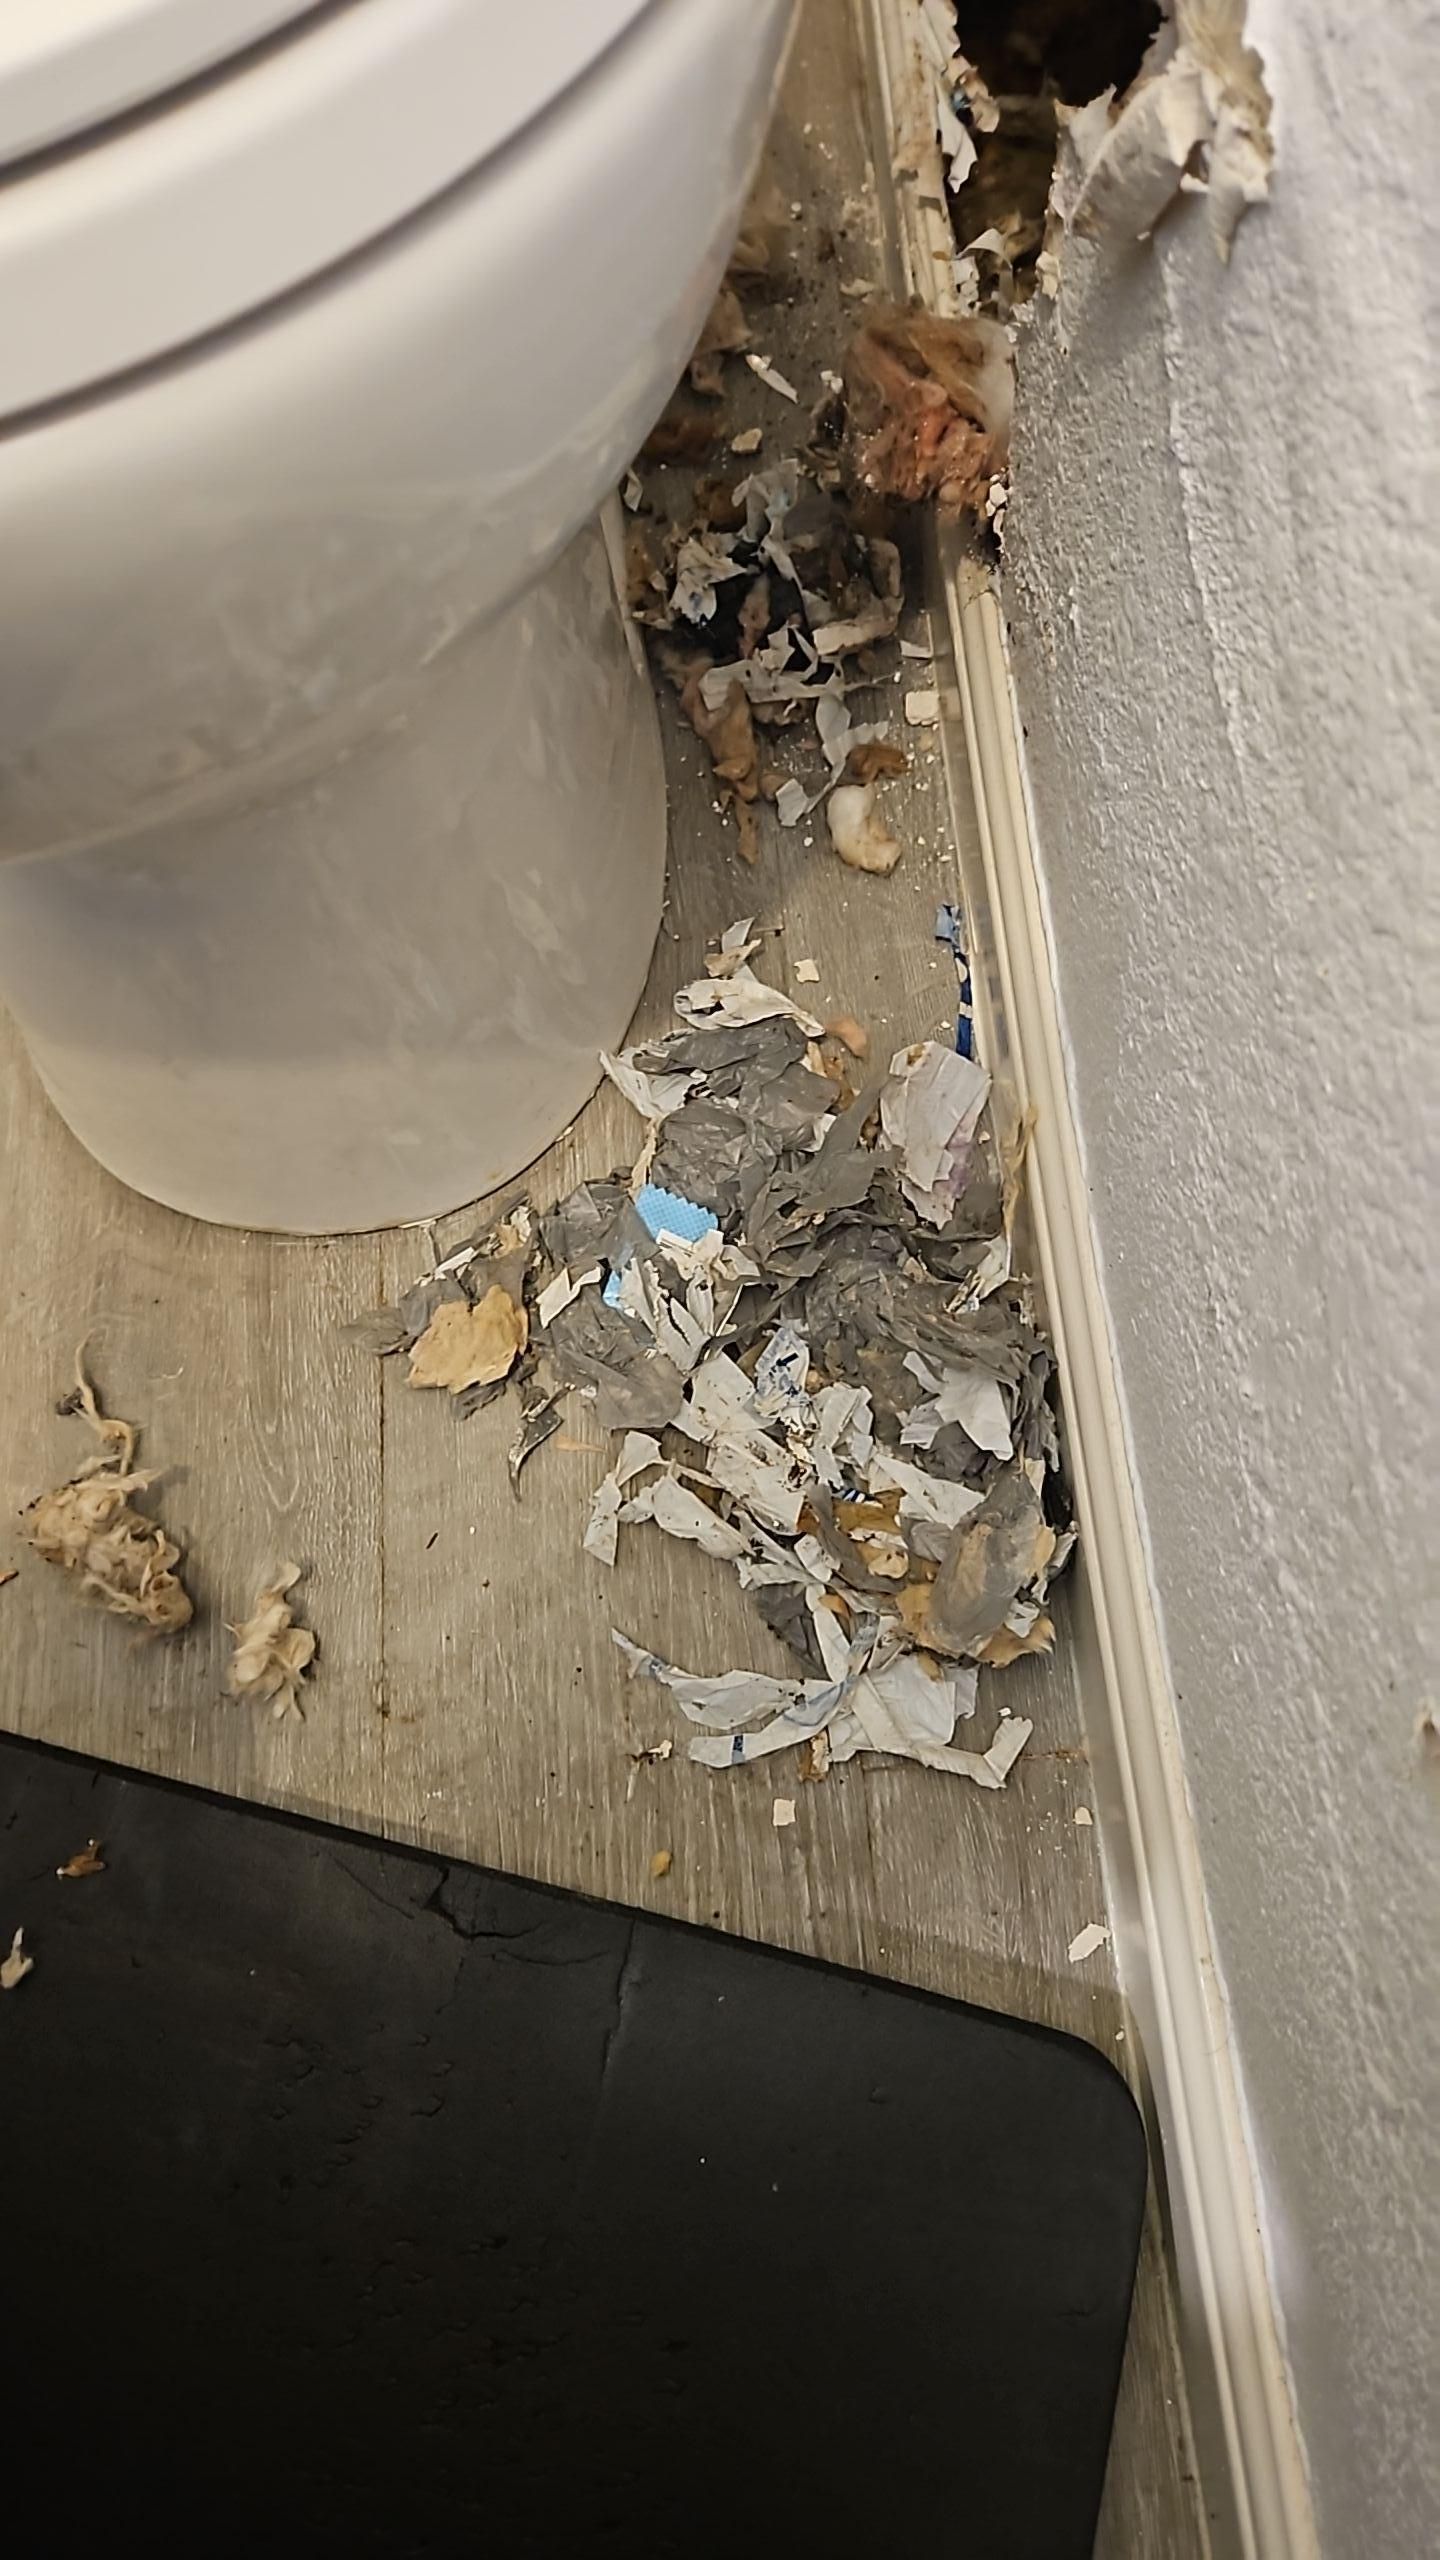
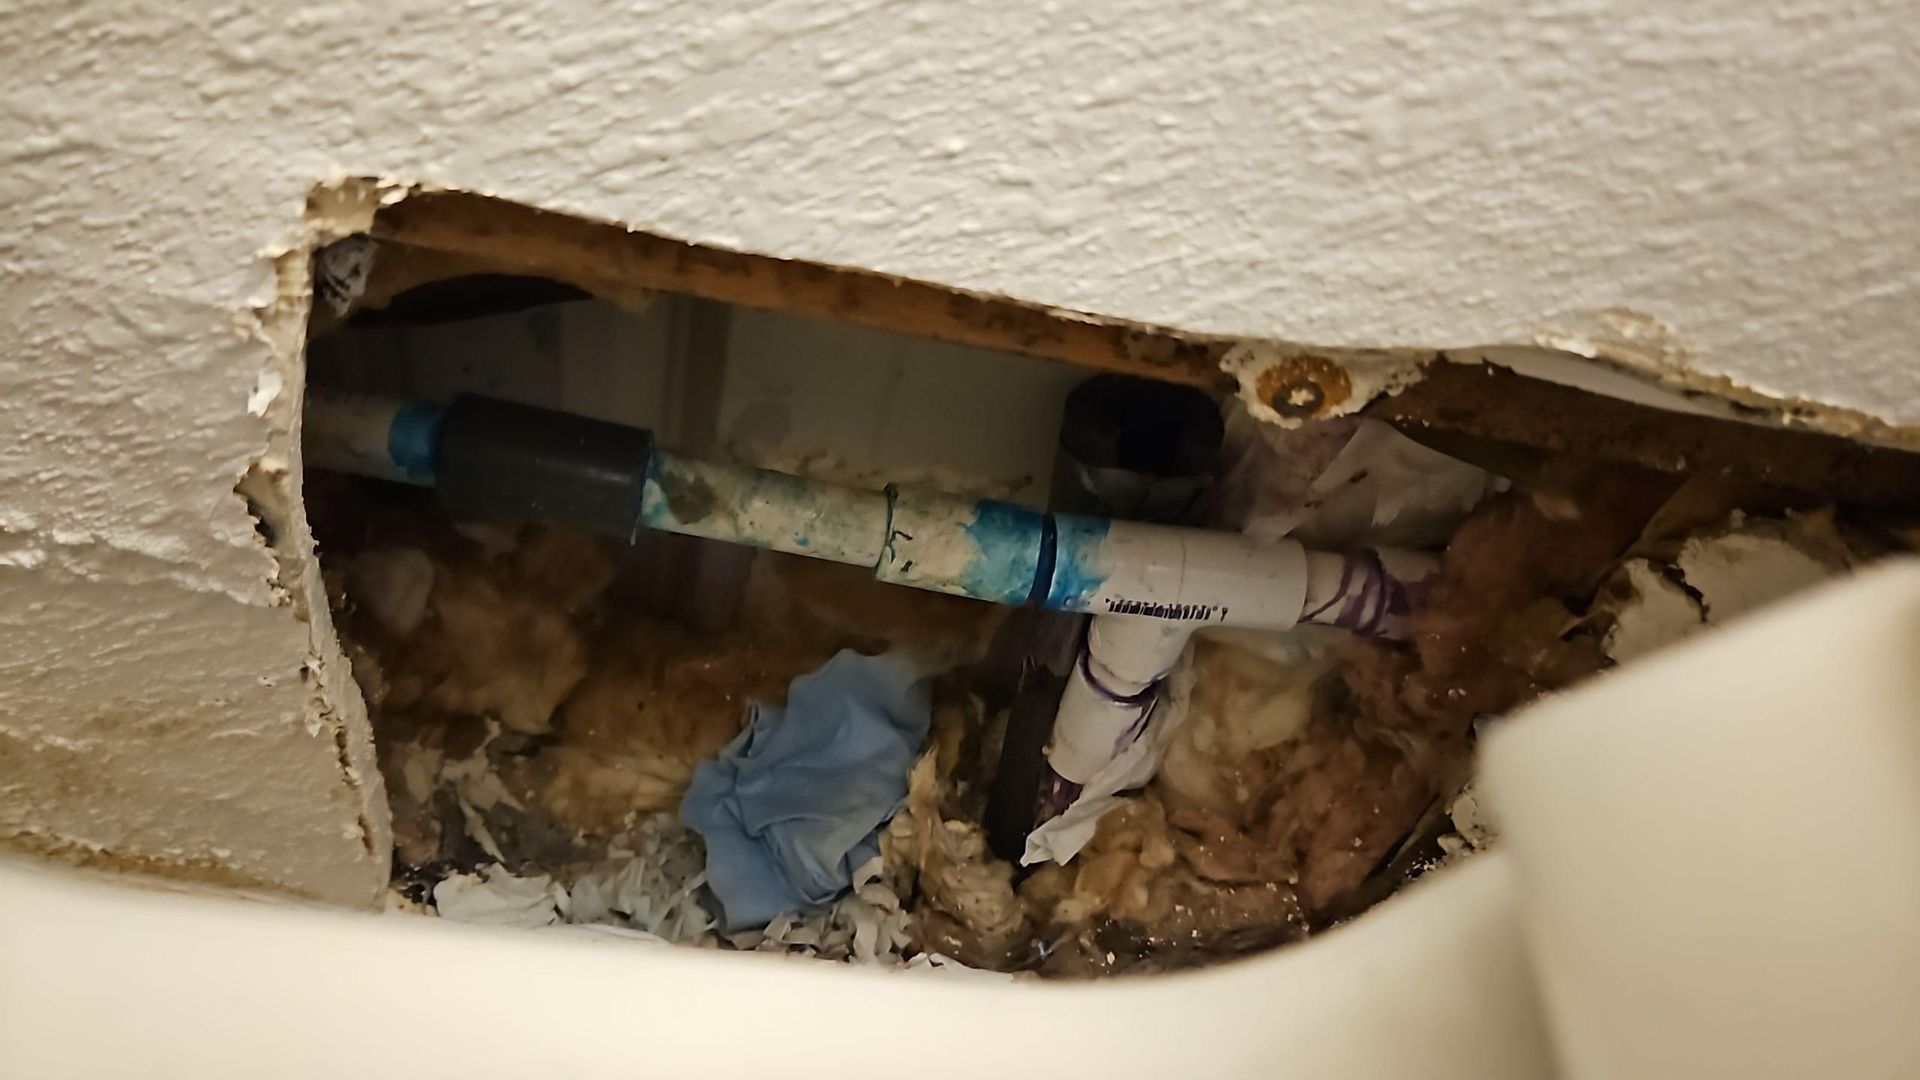
The water came from a slow leak in the plumbing inside the wall right beside the toilet. Once we opened the drywall, we found a PEX supply line with a coupling and PVC fittings sitting in soggy insulation. Water had been wicking along the bottom of the wall and creeping toward the closet next door.
Slow leaks are honestly worse than the dramatic ones in a lot of ways. A burst pipe gets your attention right away. A drip inside a wall can run for days before anything shows up on the surface.
What the Moisture Meter Told Us
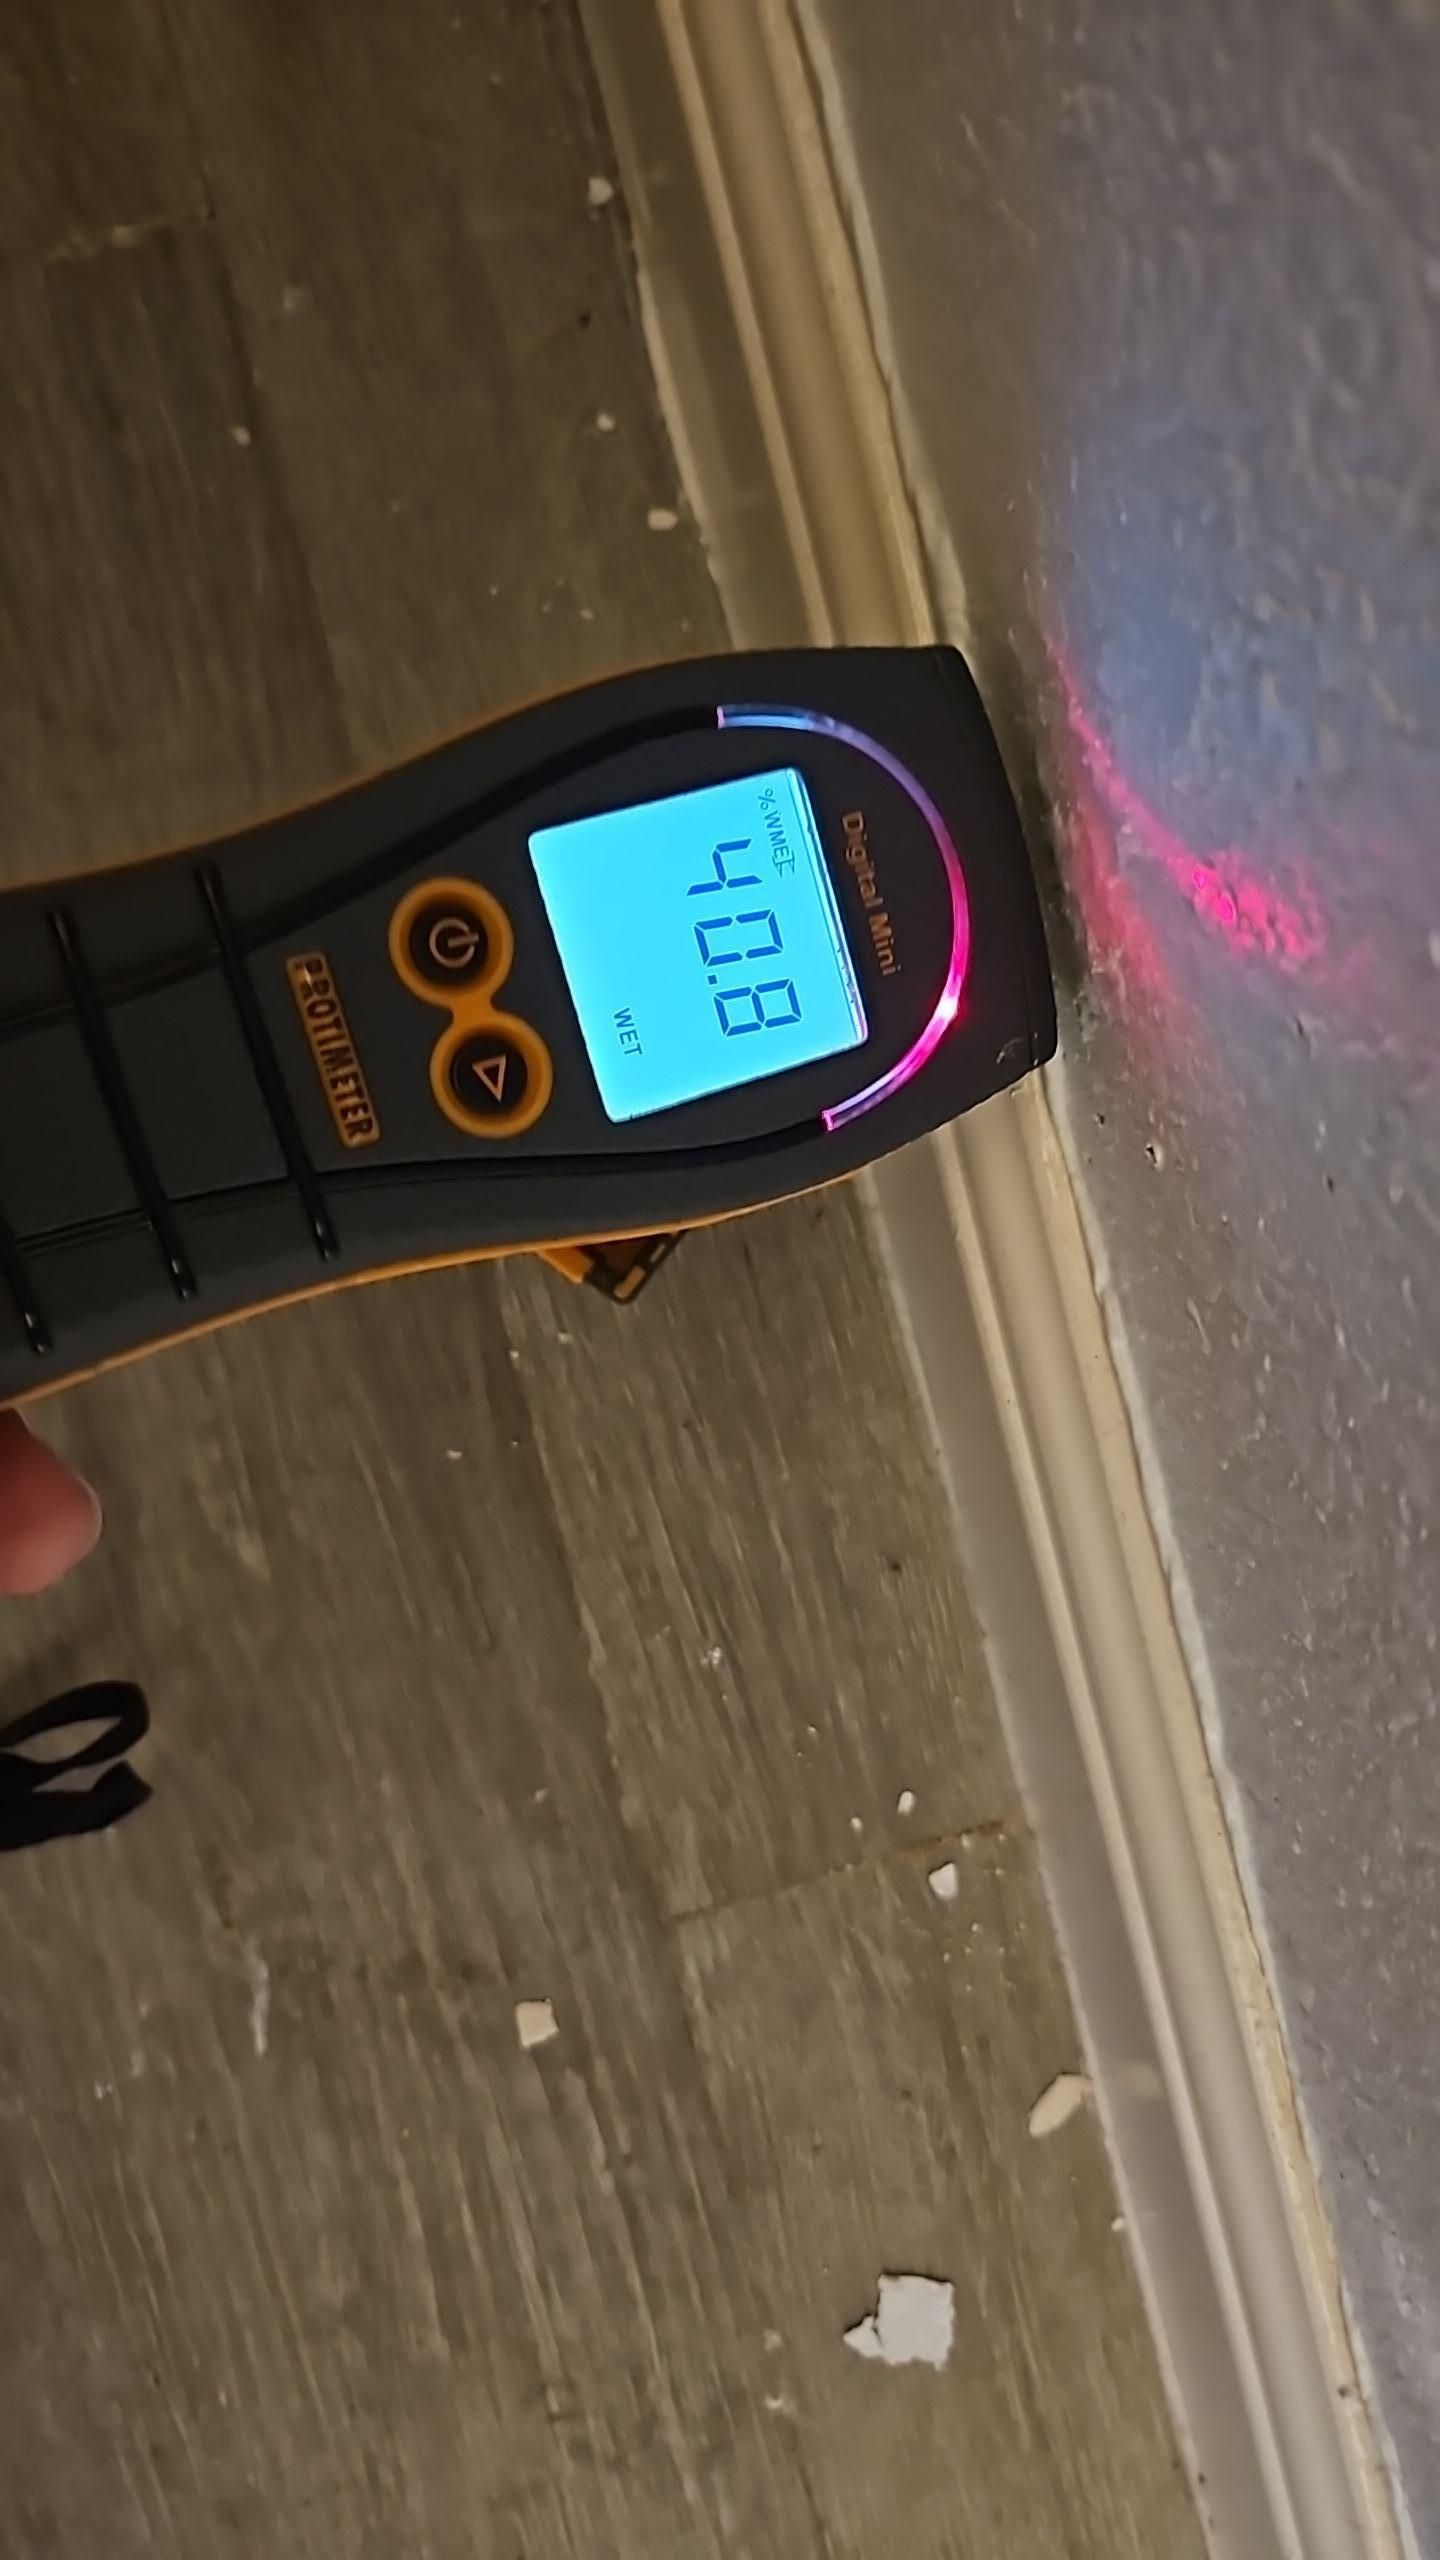
We didn't guess. We checked the walls with a Protimeter moisture meter, working along the baseboard and up the drywall to map exactly where the water had traveled. Right at the base of the bathroom wall, the meter read 40.8 and flashed WET. Dry drywall usually reads well under 20, so that was high.
That map told us where to open the wall and how far the water had spread. It also kept us from tearing out more than we needed to.
Here's a look at what we found when we first walked into that half bath.
 |
 |
 |
 |
How Did We Dry Out the Wall and Bathroom?
We opened the wall, removed the ruined materials, and started drying. Since the source was clean supply water, the IICRC S500 water damage standard classifies it as Category 1. So drying is the main goal here, and a toilet overflow would be a whole different job.
Step by Step on Site
- Cut open the drywall beside the toilet to expose the leak and the wet cavity
- Pulled out the saturated insulation and damaged drywall, since wet insulation holds water like a sponge
- Detached the baseboards along the affected walls so air could reach behind them
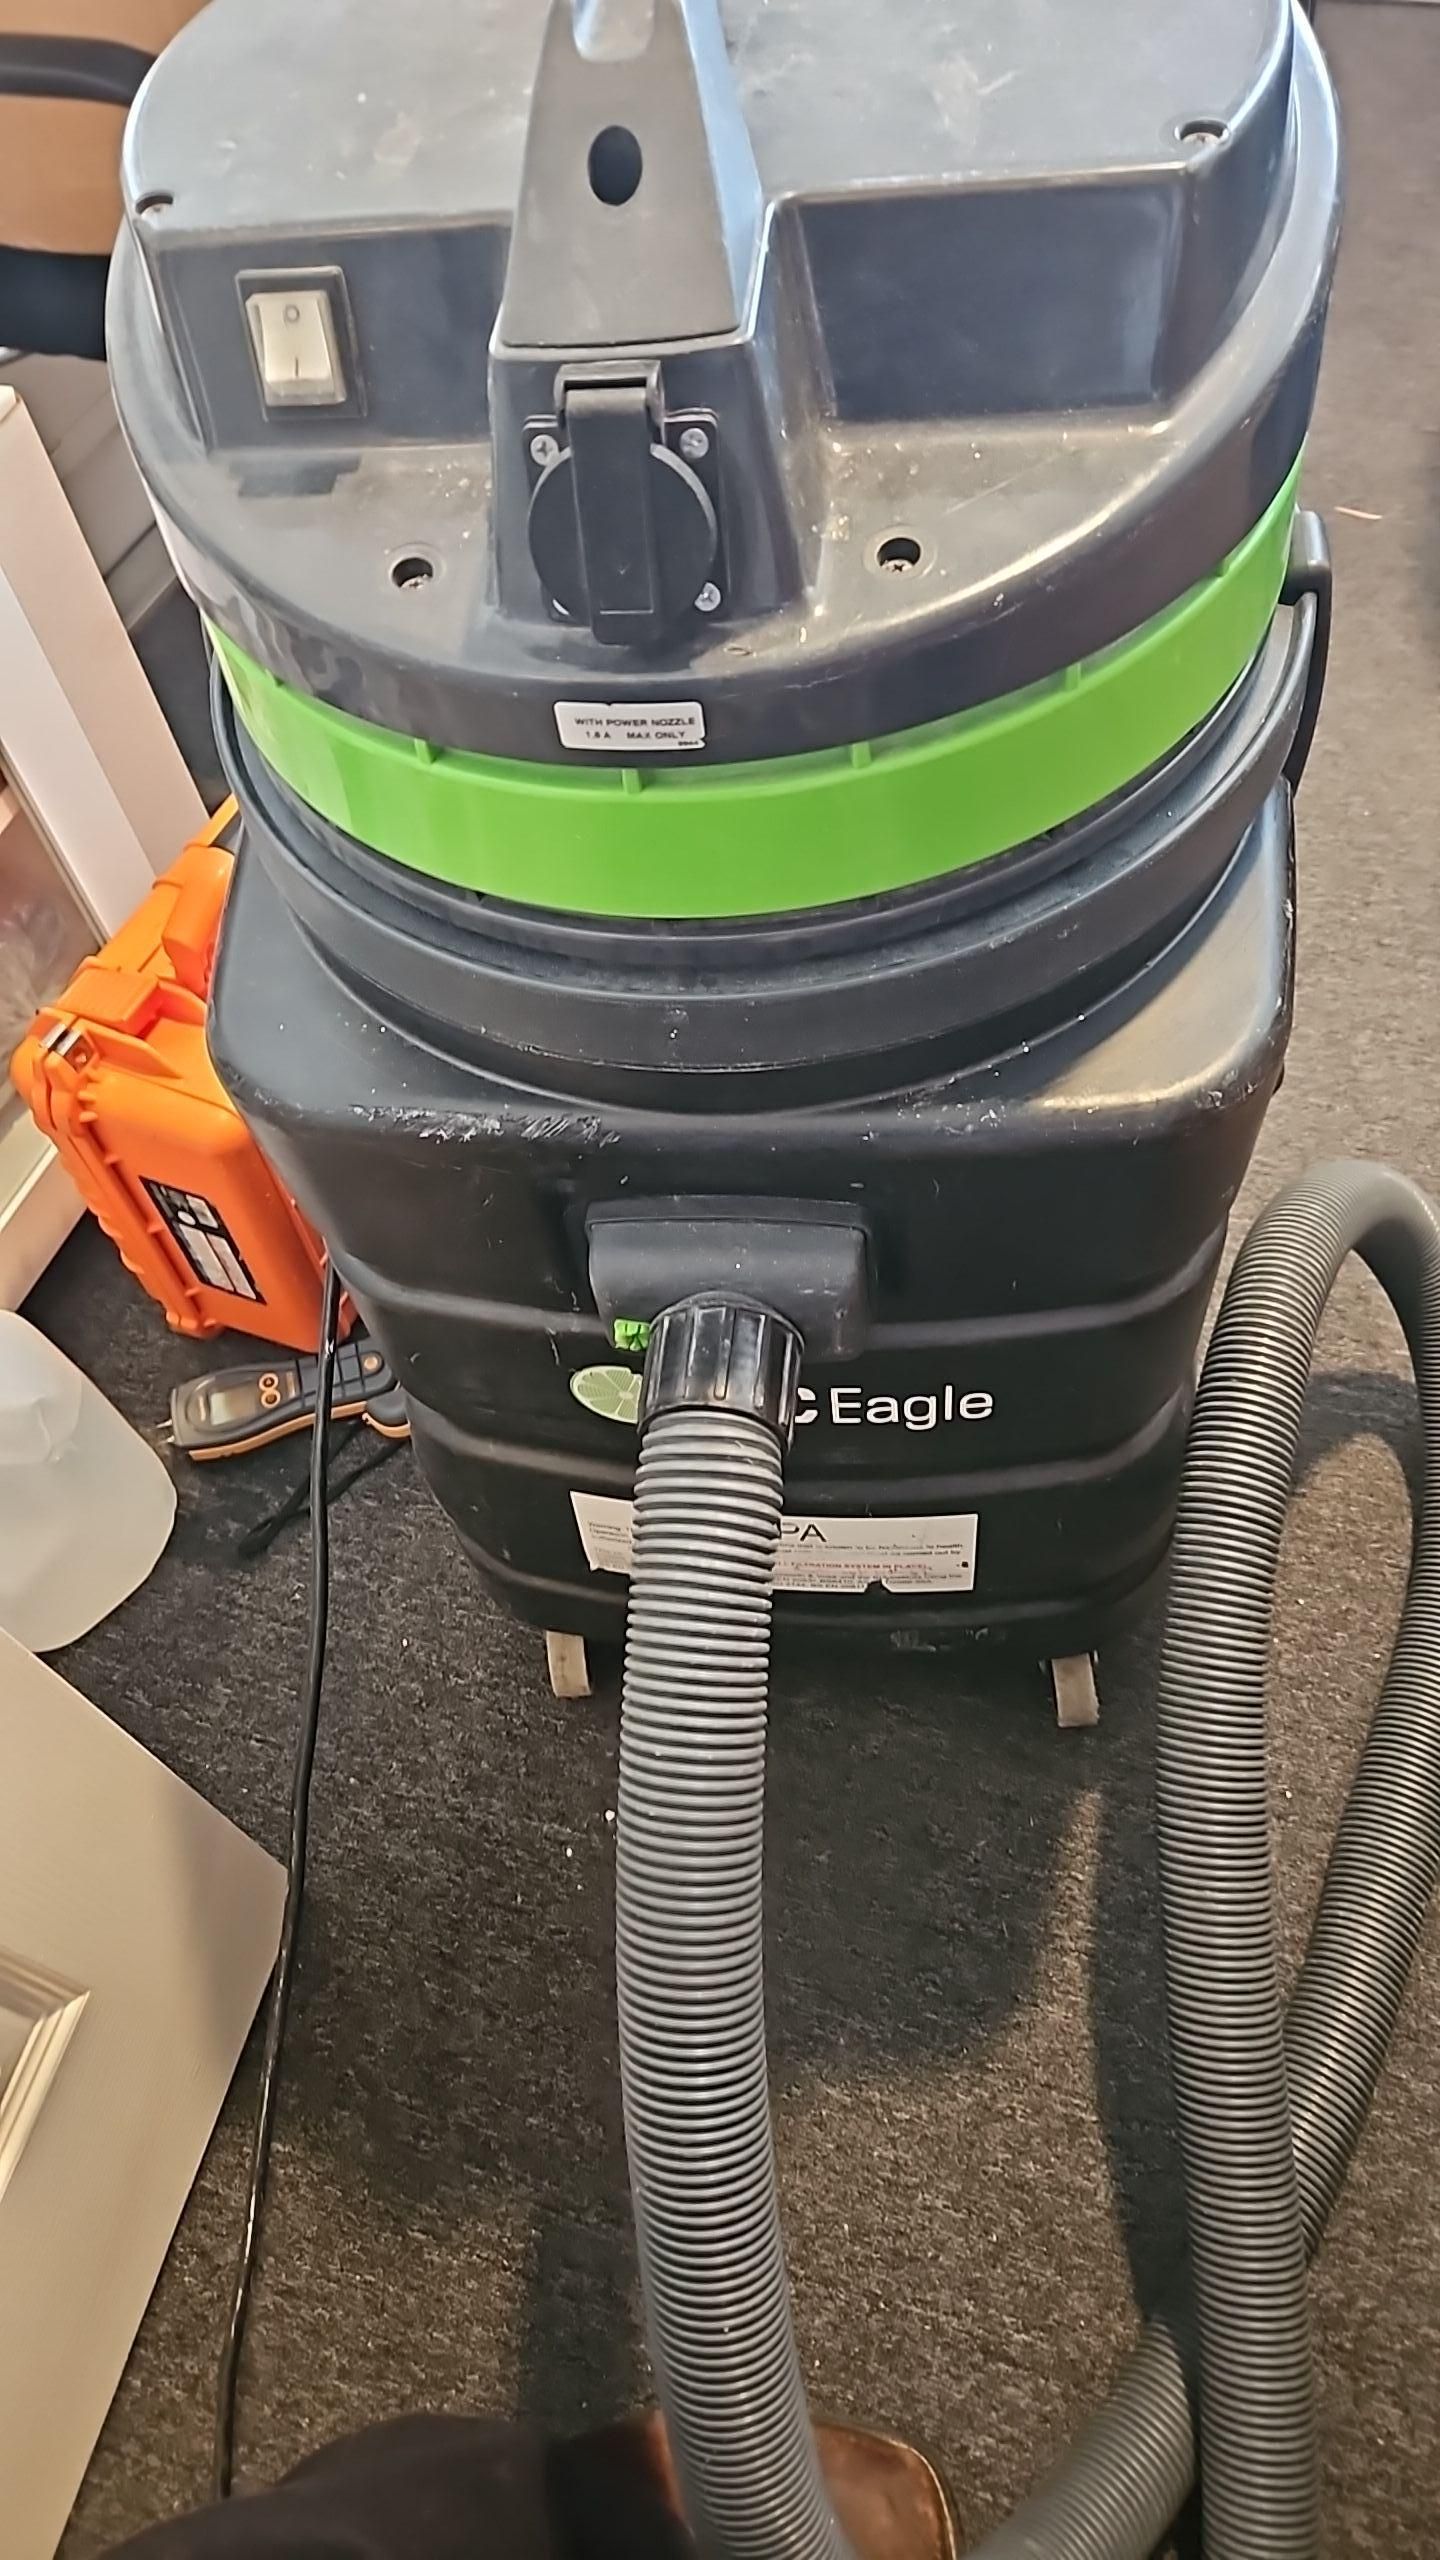
- Cleaned up all the demo debris with a HEPA vacuum so nothing got tracked through the house
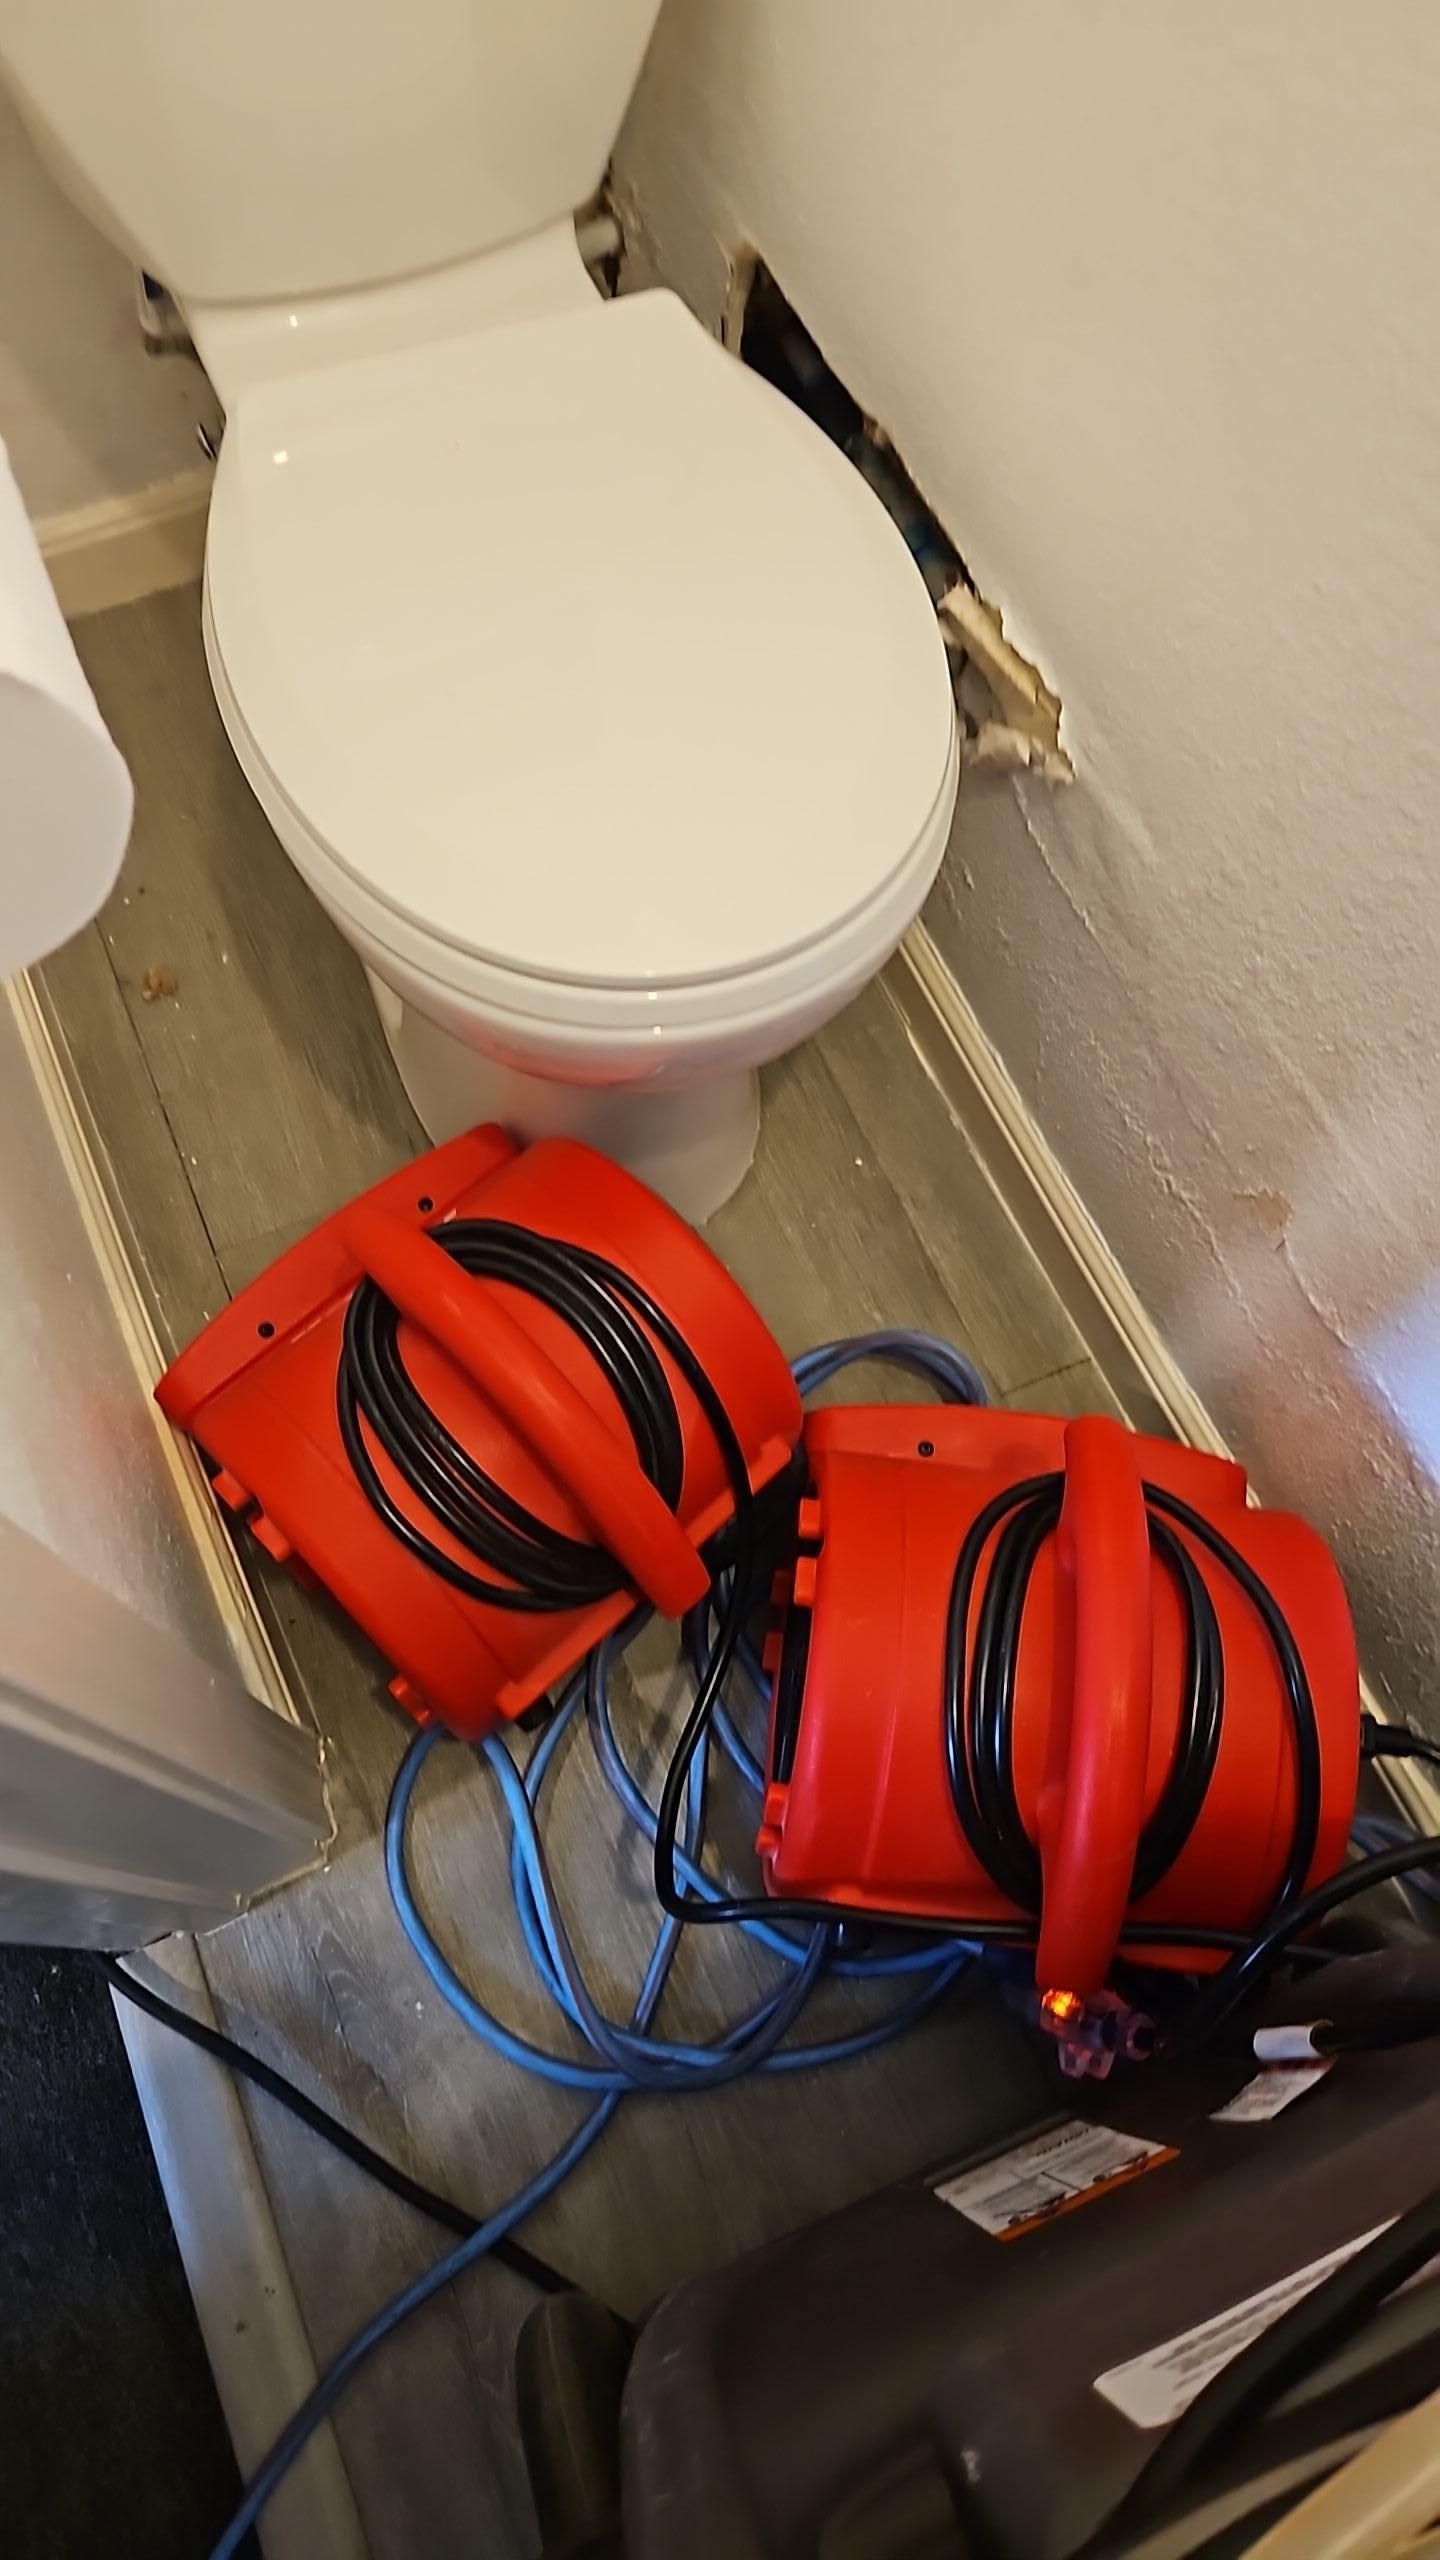
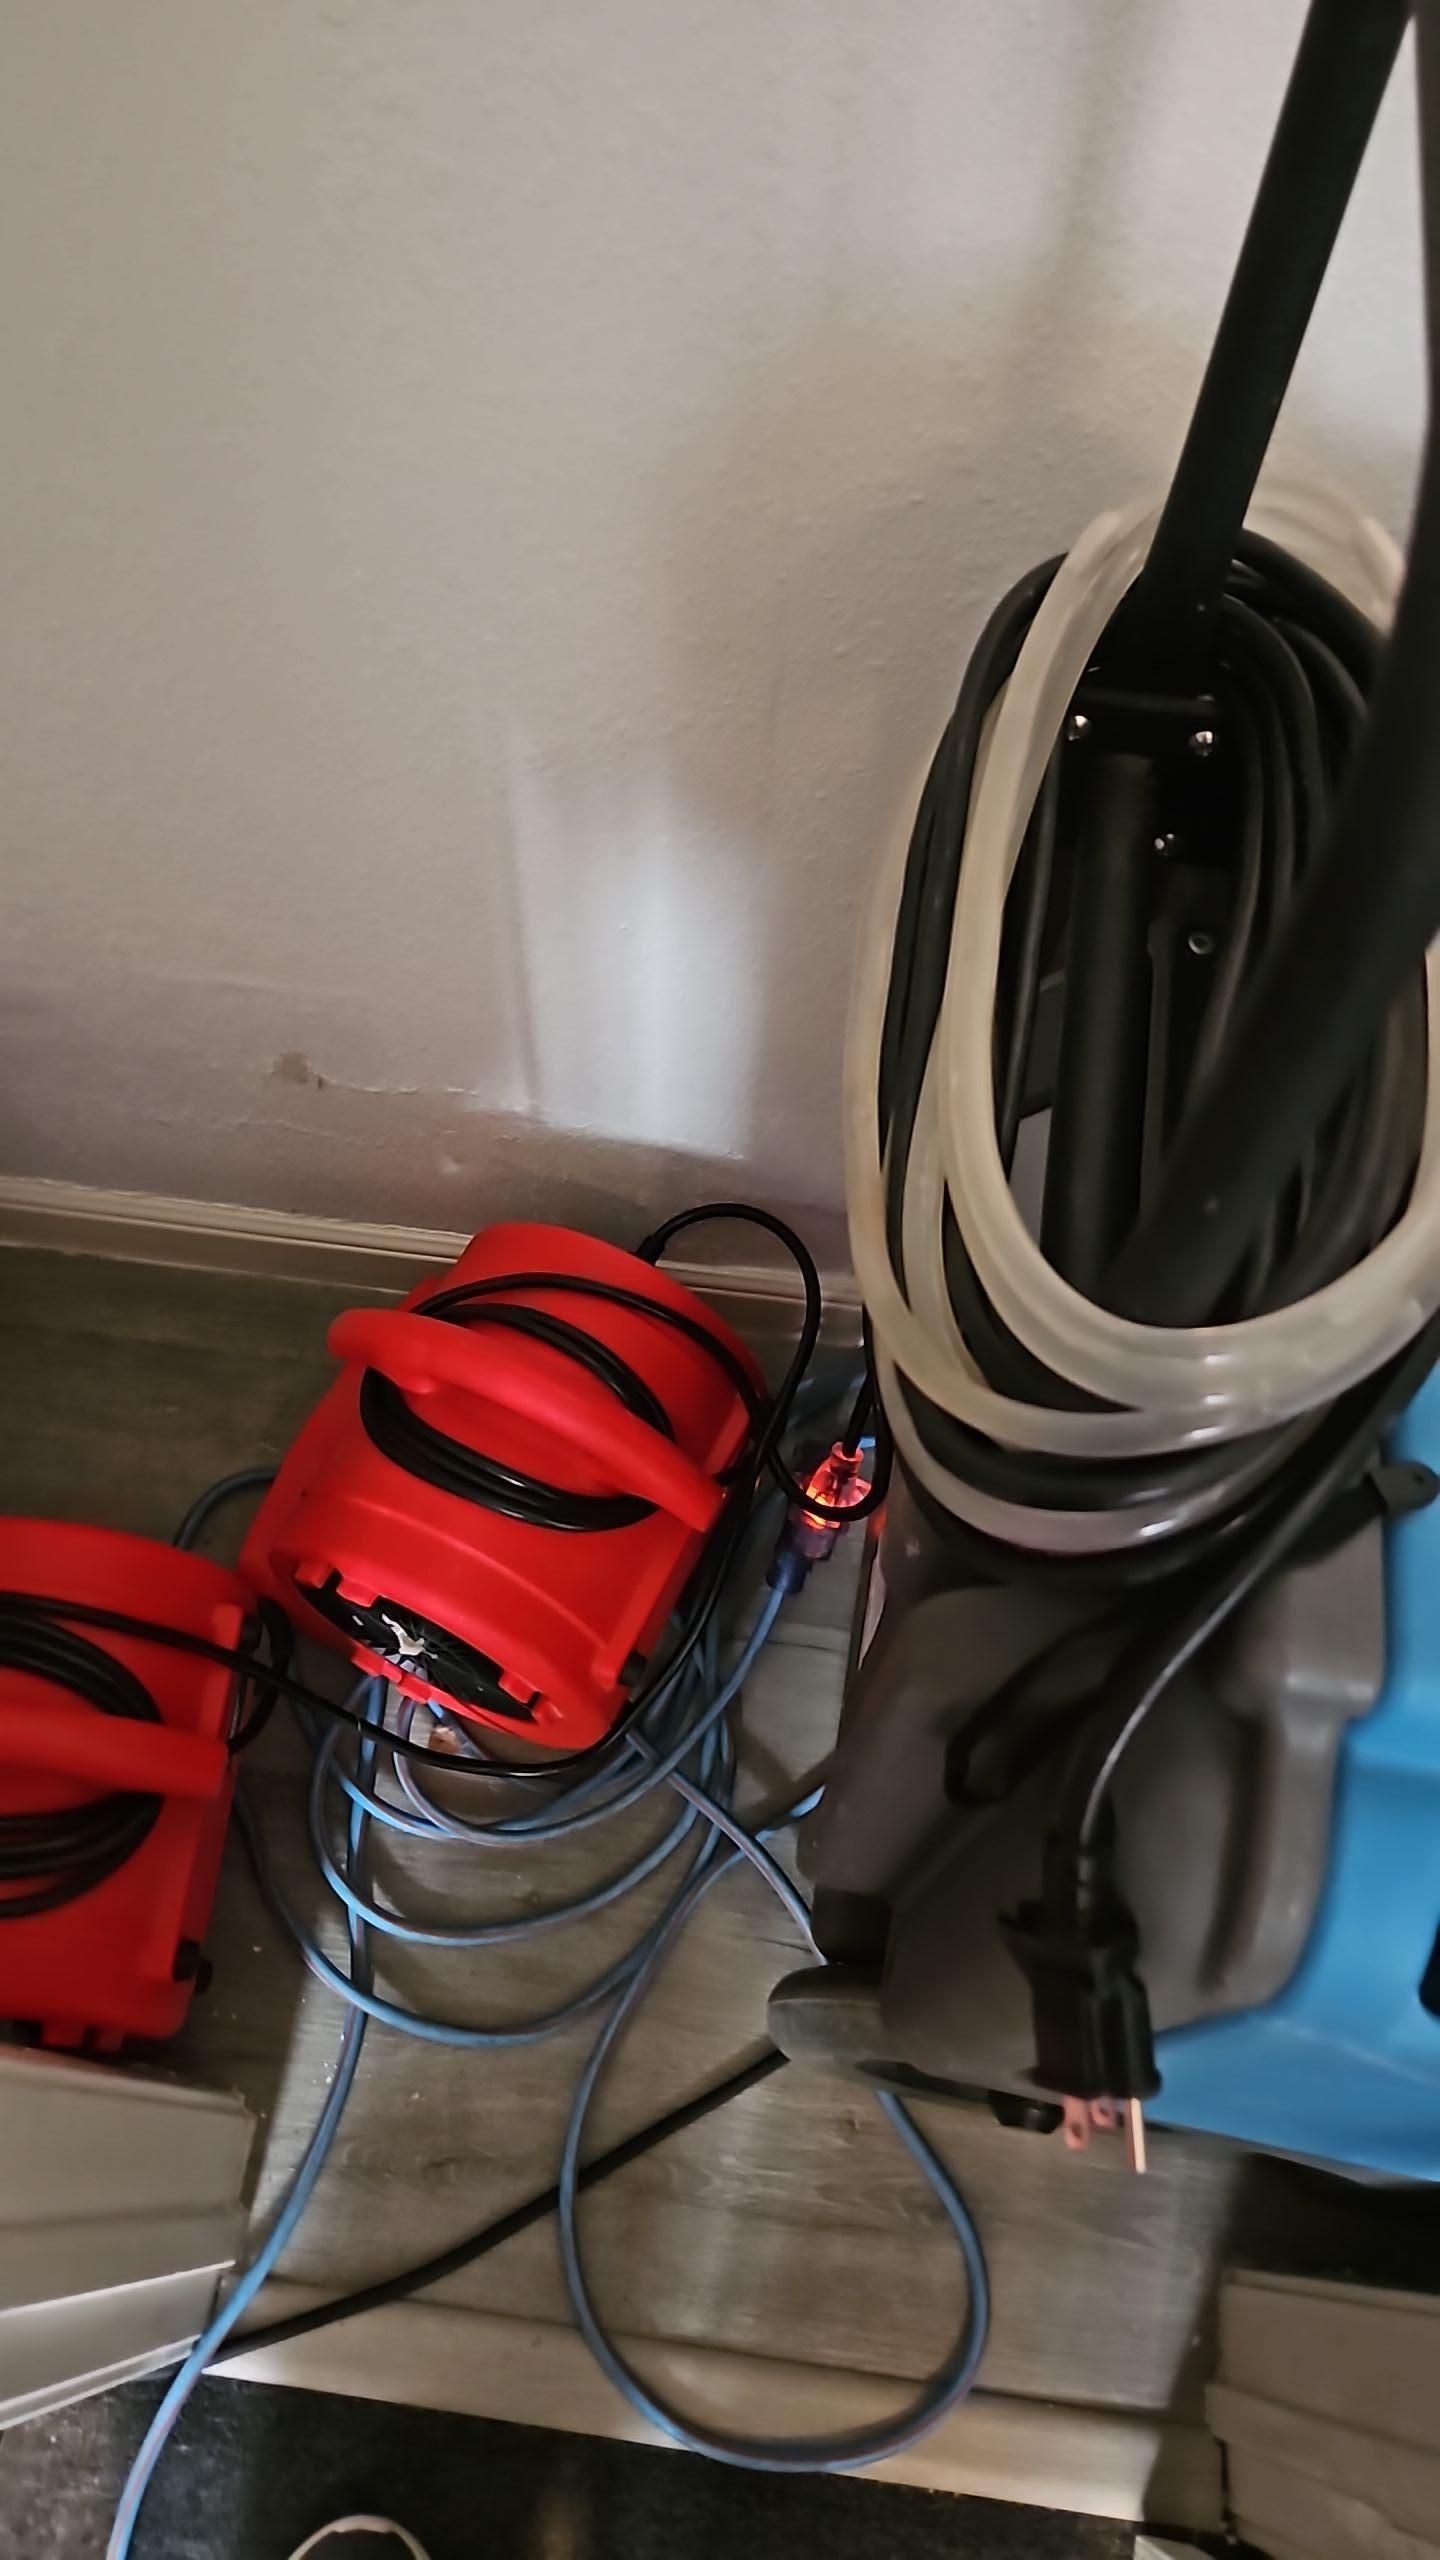
- Set 2 air movers in the half bath, plus 1 air mover and an LGR dehumidifier in the next space over
Taking off the baseboards is one of those small steps that makes a big difference. Water loves to hide behind trim, and drywall can't dry if air can't reach it. That's the whole idea behind professional structural drying services: move air across wet surfaces while pulling moisture out of the room.
Why an LGR Dehumidifier?
LGR stands for low grain refrigerant. In plain English, it keeps pulling water out of the air even as the room gets drier. That's right about when a store-bought unit starts to slow down.
Here's the drying setup in action.
 |
 |
 |
 |
 |
How Long Did the Bathroom Take to Dry?
The wall cavity and bathroom reached dry standard in about three days. We came back daily to take readings in the same spots we mapped on the first visit. Once every reading matched normal dry levels for that material, we pulled our equipment and the homeowner got their bathroom back.
Speed really matters here. According to EPA guidance on moisture control, drying wet materials within 24 to 48 hours keeps mold from growing in most cases. That's why we start drying the same day we arrive.
Leak Behind Your Toilet? What Should You Do?
If you spot puffy paint, a soft wall, or a damp baseboard near a toilet, shut off the valve behind it and call a pro. Those are classic signs that water is getting into the wall. Catching it early usually means less drywall comes out and the whole thing dries faster.
Watch for these warning signs:
- Bubbling or peeling paint low on the wall
- Baseboards that look swollen or pulled away
- A musty smell in a small room
- Flooring edges that feel soft or look lifted
We've written more about detecting water damage behind walls and what to do about pipe leaks if you want to dig in. You can also check out this supply line burst water damage job in Round Rock we handled not far from here.
Need Water Damage Help in Round Rock?
Our team at Texas Certified Restoration answers the phone 24/7 for water emergencies across Round Rock, Pflugerville, and the North Austin suburbs. Whether it's a slow drip behind the toilet or a much bigger mess, we'll find the moisture and get it dry. We'll also help you work through the insurance claim.
Spotted a leak? Tap here for what to do while you wait
- Turn off the water at the shutoff valve behind the toilet
- Move rugs, towels, and anything stored in nearby closets
- Snap a few photos for your insurance claim
- Leave the drywall alone until we check it with a meter
Want to know more about local coverage? See our water damage restoration in Round Rock page.

Tracy King
About The Author:
Tracy King, of Texas Certified Restoration, brings over 10 years of combined industry experience to the disaster restoration field. Since the founding of the company, Tracy has been committed to providing professional and dependable restoration services to homeowners and businesses throughout the Greater Austin area. With a passion for helping clients navigate the challenges of water damage, fire damage, and other disaster-related situations, Tracy leads a certified team dedicated to delivering quality service that helps families and businesses resume normal life after unexpected emergencies.
Read More: